From first message to follow-up
How a prosthetic fitting works
Every limb we make follows the same sequence, whatever the level and whatever the parts. Knowing the stages helps you plan your time, ask the right questions and notice early if something is not right.
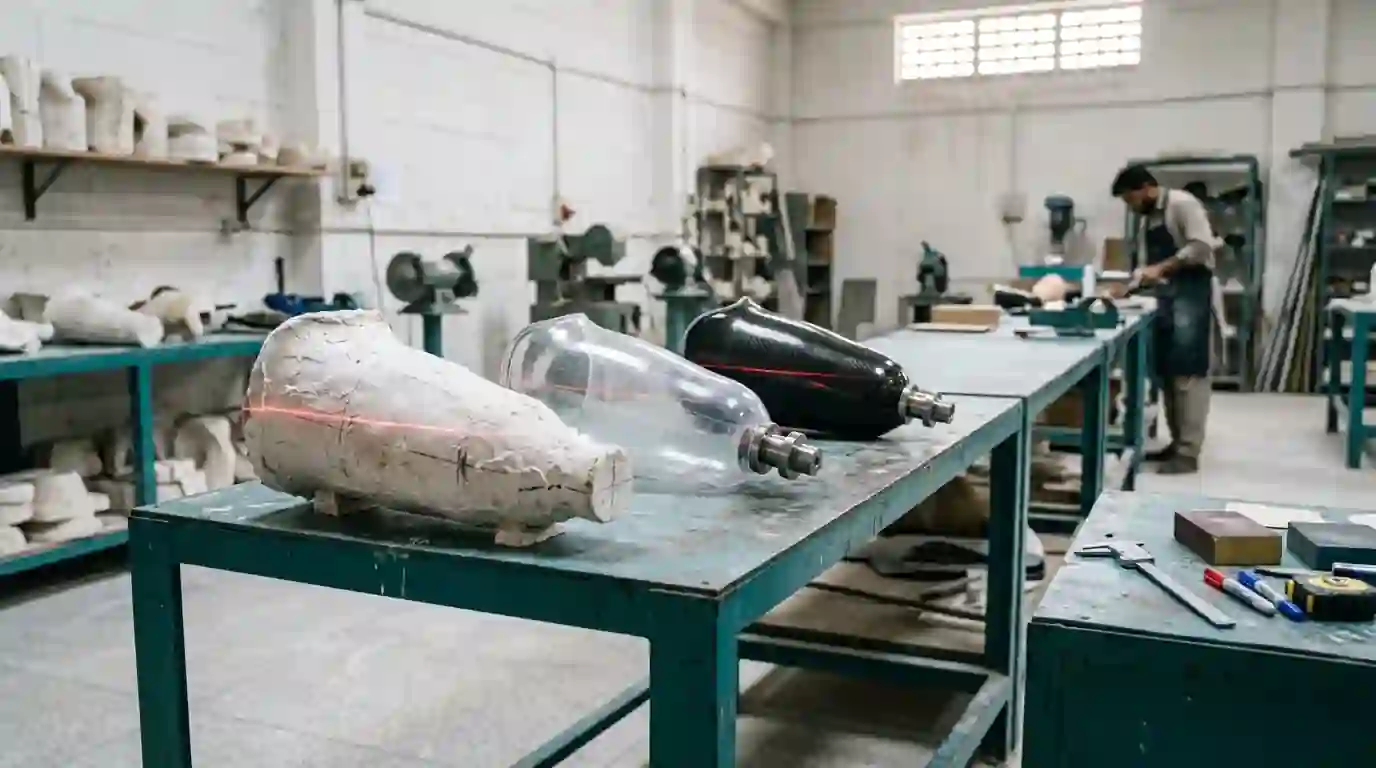
At a glance
- Stages
- Seven, from message to follow-up
- Test socket
- Always before the final limb
- Alignment
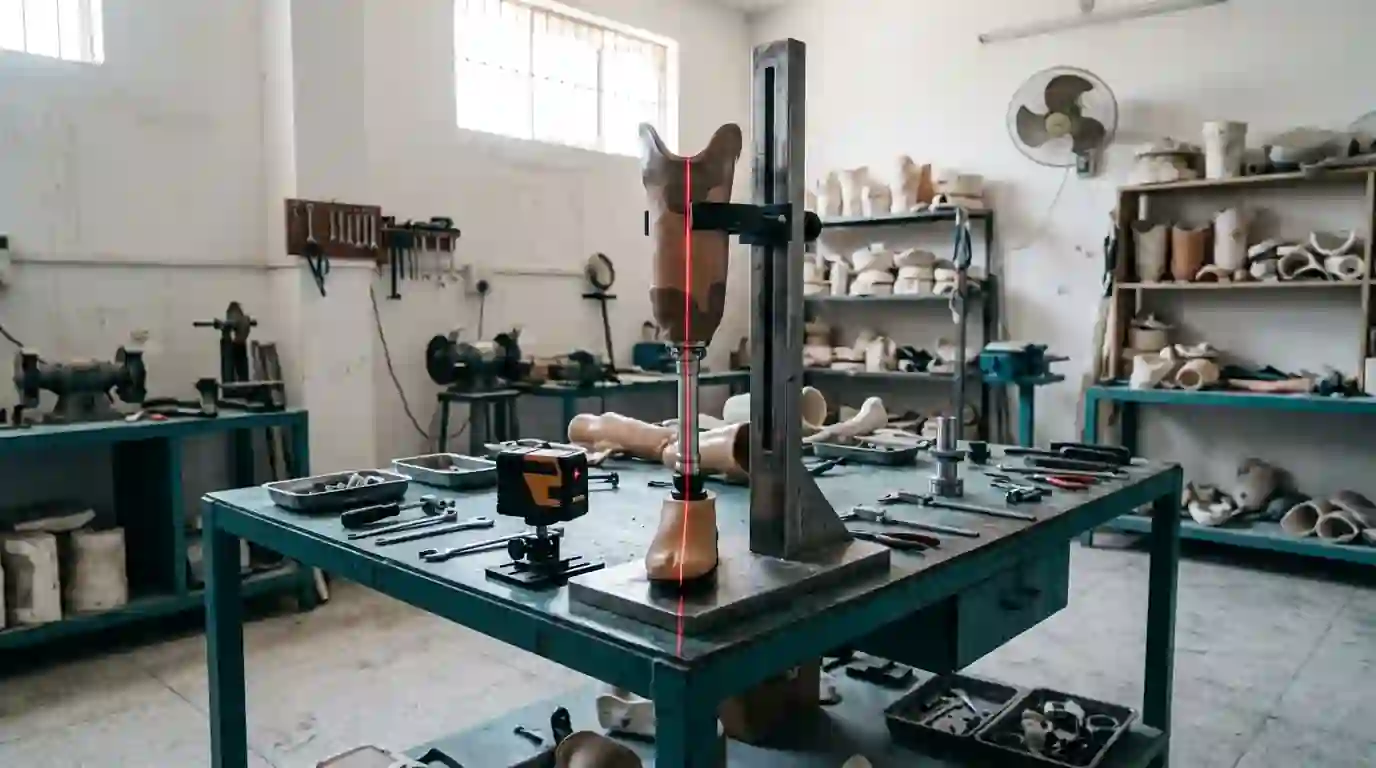
- Laser line, standing and walking
- Follow-up
- Planned for the first year
What are the steps in getting a prosthetic leg?
Photos and history first, then an assessment at the clinic, a cast or scan of the limb, a clear test socket that is adjusted until it fits, the final limb aligned with a laser, walking training, and follow-up visits as the limb settles. A below-knee leg usually takes two to three weeks of clinic stages.
Written and checked by the clinical team at Prosthetic Professionals. Last reviewed October 2026. General information only; your own surgeon or doctor decides when a limb is ready for fitting.
The seven stages
The same sequence for legs, arms and hands; only the time at each stage changes.
- 1
Photos, video and history
You send photos of the limb, a short walking video and your medical history. We reply with the likely limb, a first price and a timetable.
- 2
Assessment
We examine the skin, scar, bone ends, joint movement and strength, and ask what you want to do with the limb each day.
- 3
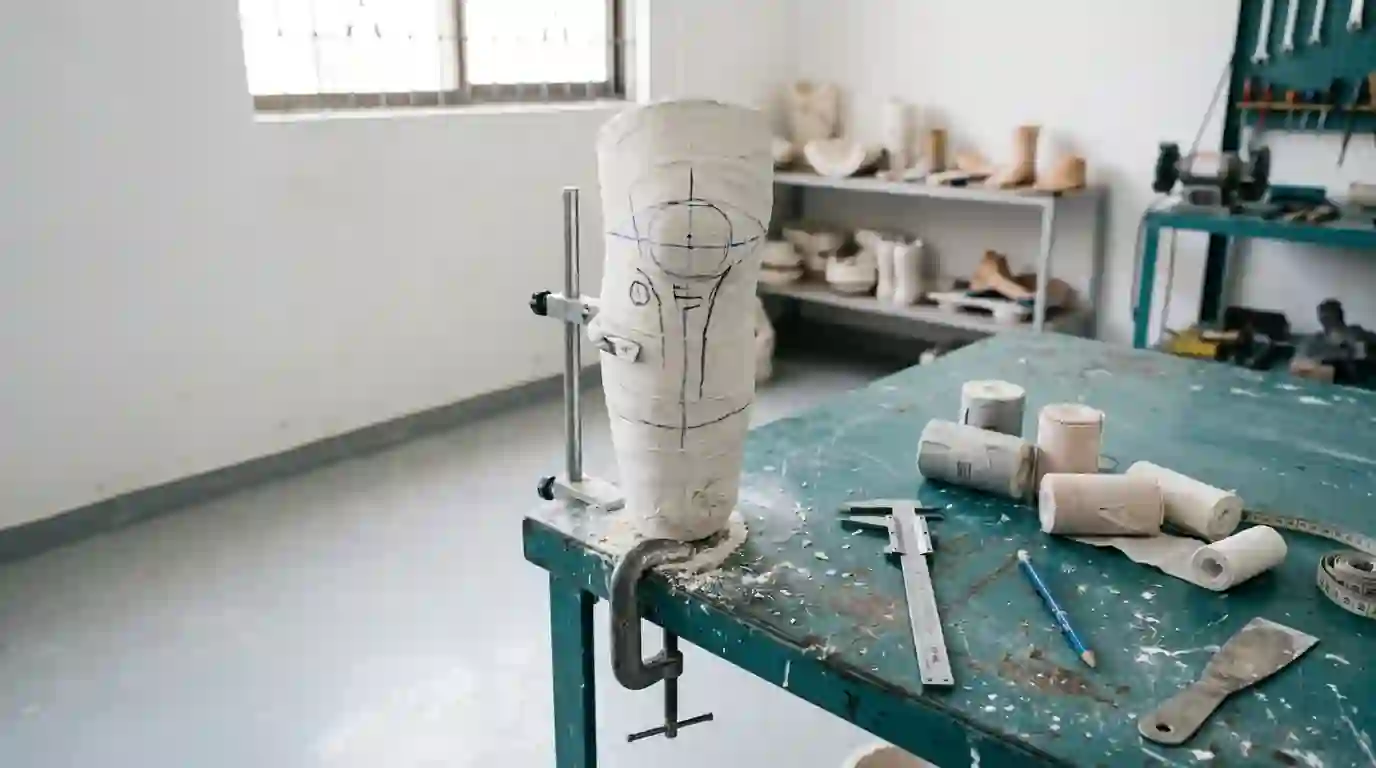
Cast or scan
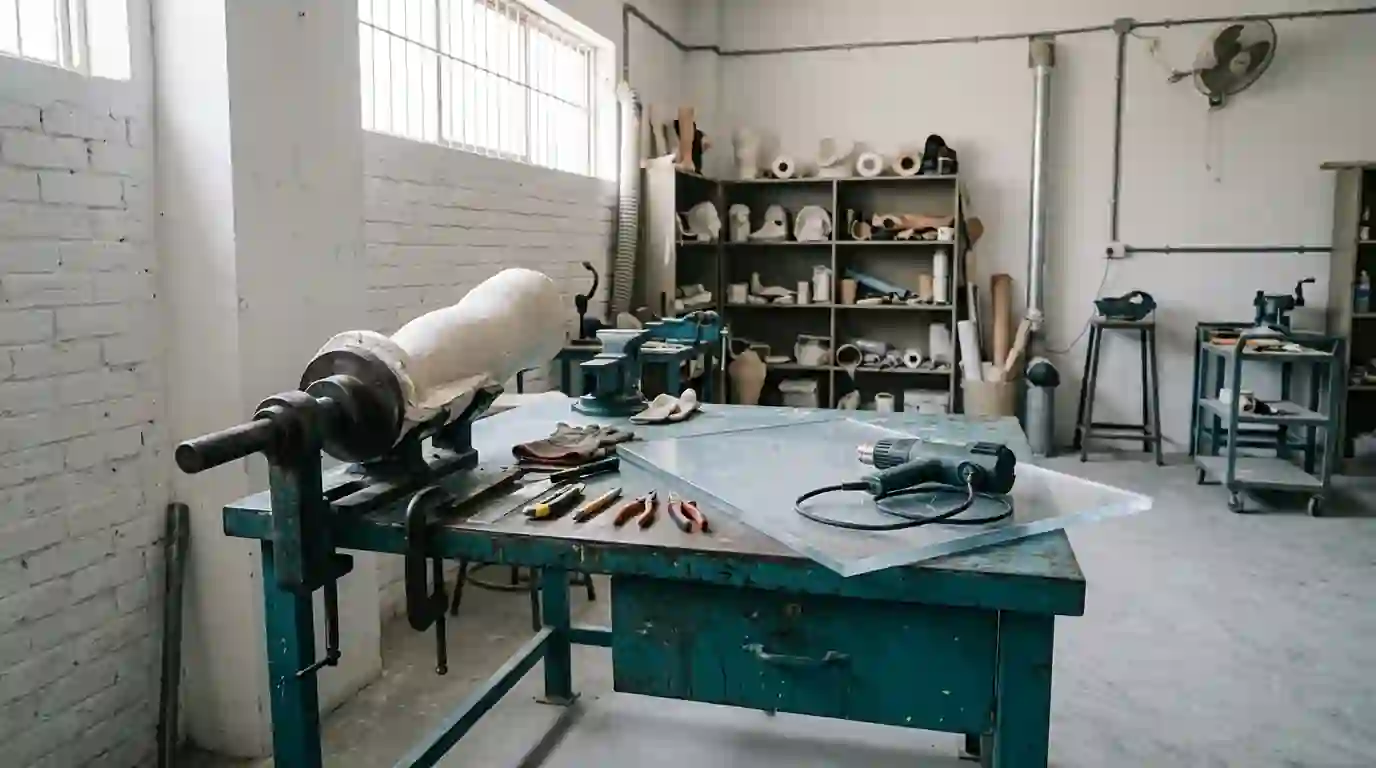
A plaster cast or a scan captures the shape of the limb. The socket is built on this model, so the cast is taken with care.
- 4
Test socket
A clear plastic socket shows exactly where the limb presses. We reshape it, sometimes more than once, until the load sits where it should.
- 5
Final limb and laser alignment
The final socket is made and joined to the joints and foot. A laser line checks that the limb carries your weight straight while you stand and walk.
- 6
Training
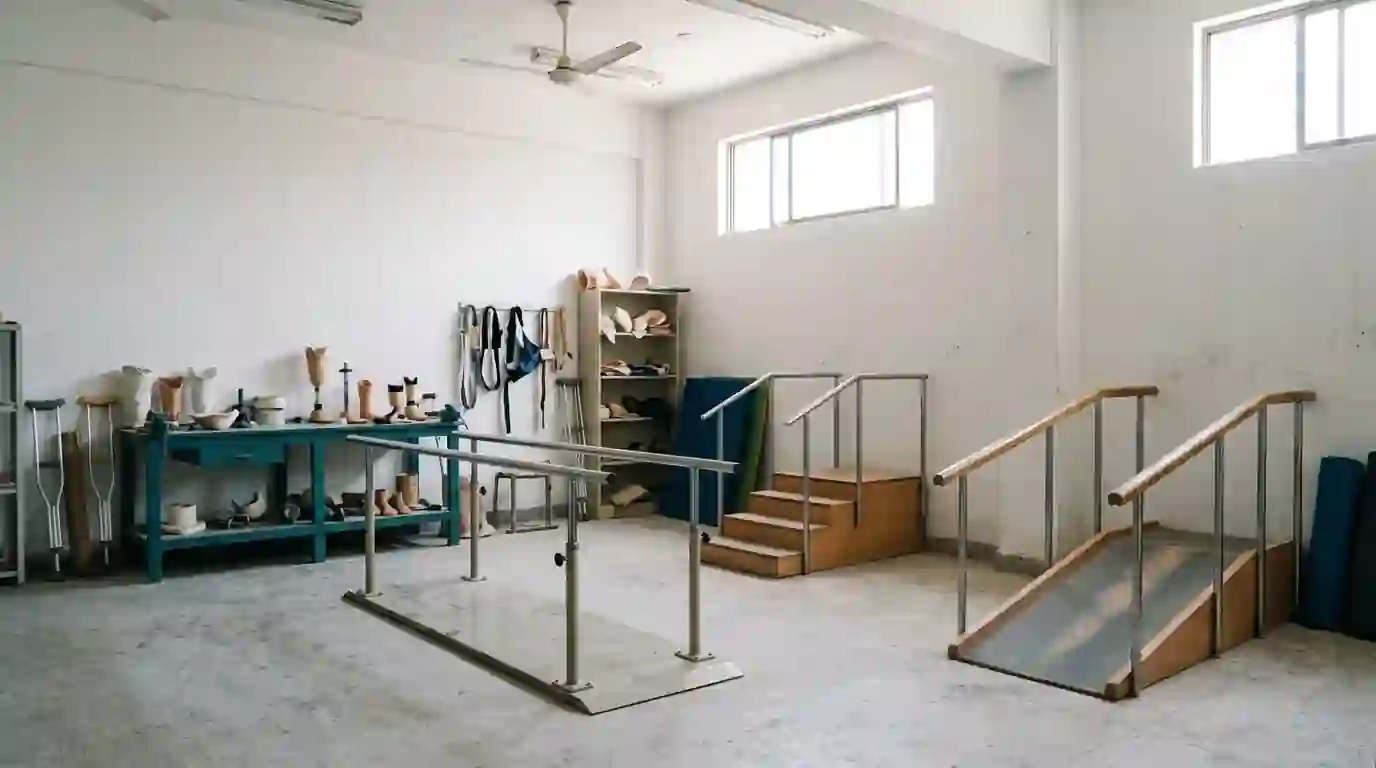
From weight shifting to walking outside, or from opening a hook to buttoning a shirt, until you can use the limb safely.
- 7
Follow-up
The limb changes shape in the first months. Short reviews catch rubbing and loosening before they become sores.
We do not skip the test socket, even when a patient is in a hurry. It is the stage that decides whether the limb is comfortable.
What to bring to the assessment
The assessment goes faster, and the plan is better, when we can see the whole picture at once.
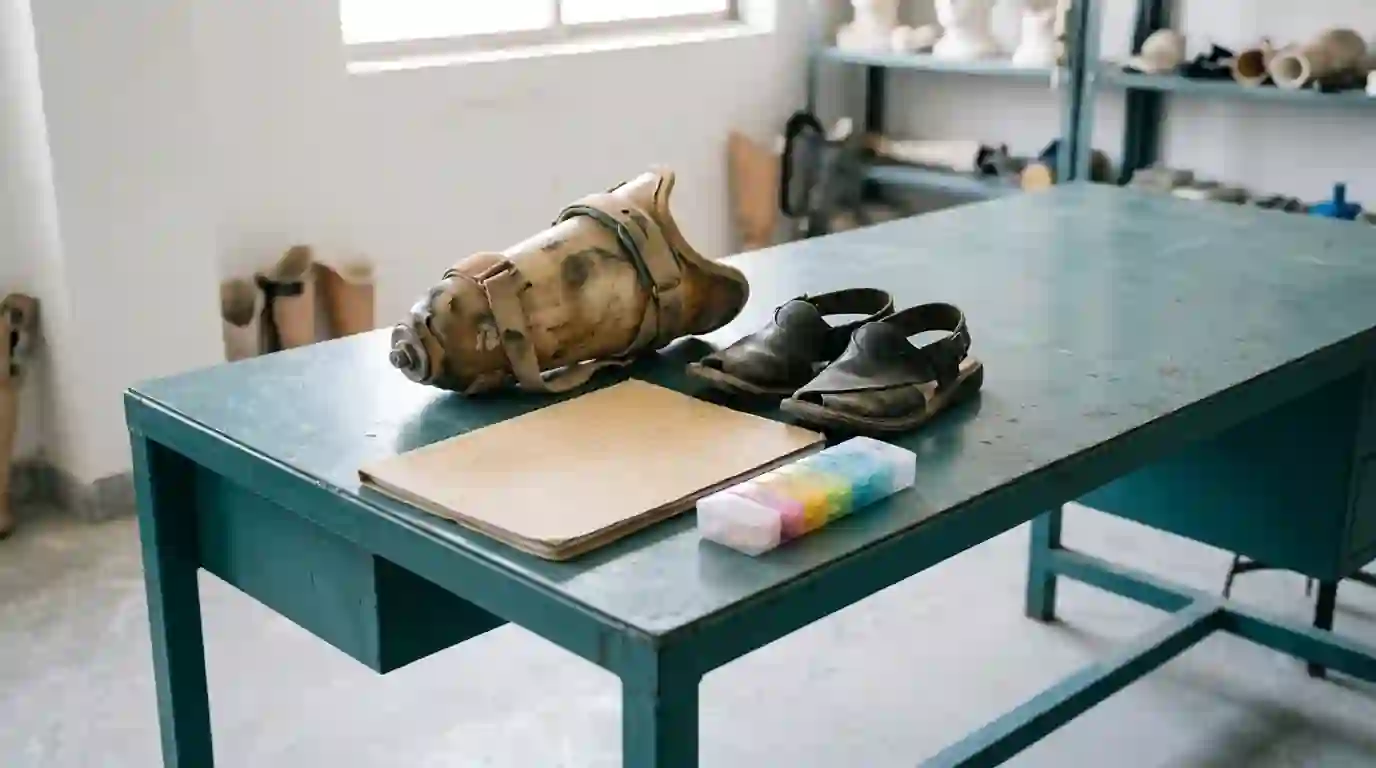
Wear loose clothing that lets us see the limb easily, and bring the shoes you wear most. If you use a stick, crutches or a walking frame, bring those too.
- Surgical notes and any recent scans
- A list of your medicines
- Recent sugar readings if you are diabetic
- Your old prosthesis, even if it no longer fits
- The shoes you wear most
How long each fitting takes
Typical clinic stages, from the assessment to the end of training.
| Limb | Clinic stages | Training |
|---|---|---|
| Below-knee leg | 2 to 3 weeks | Several daily sessions |
| Above-knee leg | 3 to 4 weeks | One to two weeks of daily sessions |
| Knee or hip disarticulation | 3 to 5 weeks | Longer, at a slower pace |
| Partial foot or Syme's | 1 to 2 weeks | A few sessions |
| Arm or hand | 1 to 3 weeks | Daily-task practice |
| New socket on your own limb | 1 to 2 weeks | A short walk check |
First-ever fittings, people with weak balance, and limbs that are still changing usually take longer.
After the fitting: the first year
Most limbs shrink for months after an amputation, fastest at first. Sockets that fitted perfectly on the last day of training can feel loose a few weeks later. Socks of different thickness take up the space in the meantime.
We plan reviews at about two weeks, three months and six months after the fitting, then once a year. Overseas patients can do some of these by video, with photos of the limb and the socket.
Call earlier if a red mark does not fade within twenty minutes of taking the limb off, if a blister appears, or if the limb starts to slip or click. Small problems are quick to fix; ignored ones become sores that stop you wearing the limb.
- About 2 weeks after: comfort and skin check
- About 3 months: socket fit as the limb shrinks
- About 6 months: alignment and wear
- Every year: full review
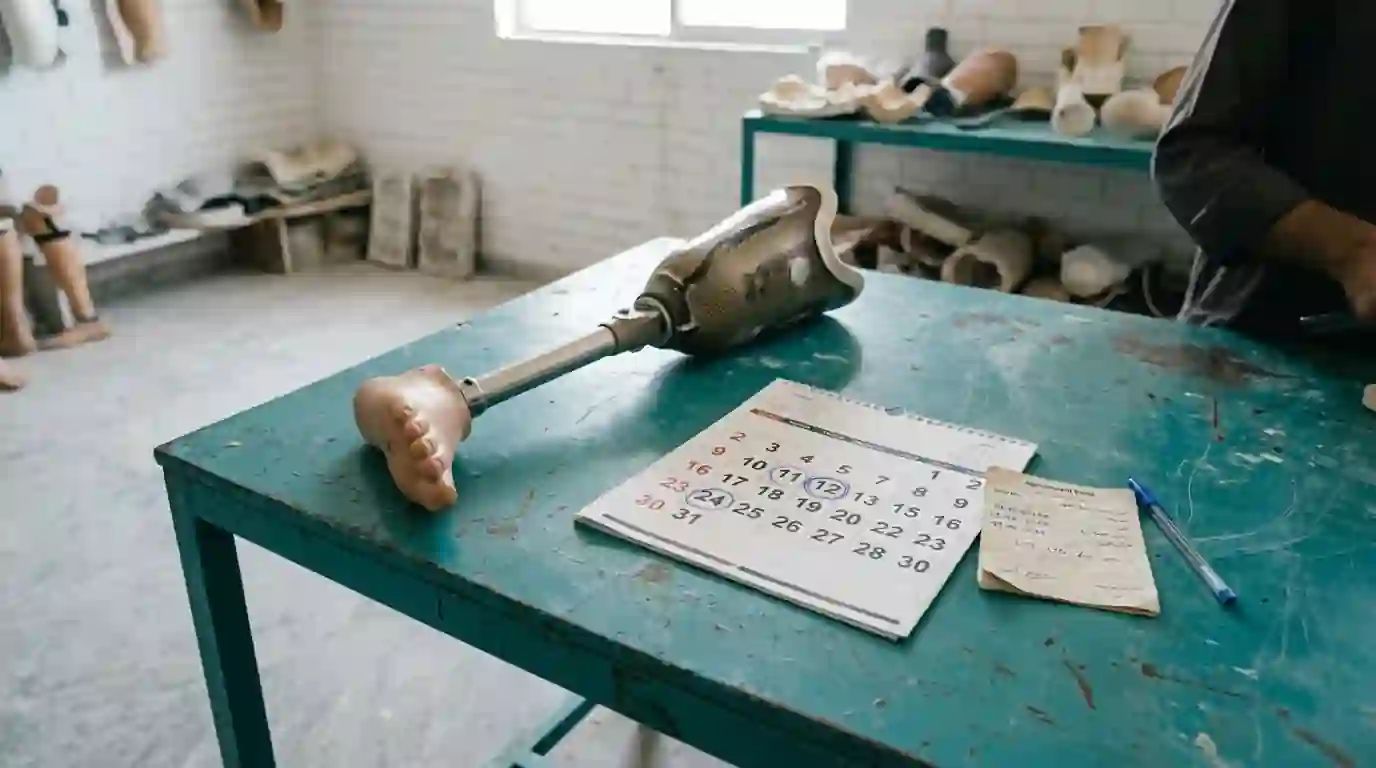
The stages, in pictures
What you will see at the clinic along the way.
Questions about the stages
Ask your own questionWhy does the test socket stage matter so much?
Because the clear socket shows exactly where the limb is loaded. A final socket made without one is guesswork, and guesswork shows up later as pain and sores.
Does getting fitted hurt?
Casting and fitting should not hurt. Some pressure is normal while we find the right shape; sharp pain is a sign to stop and reshape, and we do.
How soon can I wear the limb all day?
Most people build up over a week or two, starting with an hour or two at a time. We give you a wearing schedule at the end of training.
What happens if the socket becomes loose later?
Add socks first. If you need many more than before, or sores appear, the socket needs adjusting or replacing, and we will see you for that.
Other pages people read next
Start with the first stage
Send photos of the limb and a short walking video on WhatsApp. We will reply with the likely limb, a first price and a timetable.